A couple of weeks ago, I stopped at the hardware store to pick up some spray paint- and then I just wandered around. There are literally endless DIY possibilities if you open up your mind to them in a place like that. I came across an endcap in the door department and spotted Shims. I hardly know their real purpose but what my mind instantly saw was a pack of 42 evenly cut pieces of wood- maybe the perfect size for some wall art.
Yes. The perfect size.
The whole pack cost less than $4!
They are shims, so they are thick at one end and get thinner. I might not have realized that when I bought them- I seriously didn't even look at the pictures on the wrapper. I was so distracted by my ideas!
Enough about the shims. I've gotten way ahead of myself. You have to see what I made with them & then I'll teach you how.
I saw this on Pinterest a while ago and really liked it.
Source: liveafabulesslife.blogspot.com via Stephanie on Pinterest
So, all it took was those shims to inspire my own adaptation.
Nice, right?! I'm totally loving how it turned out. I love that it was inexpensive to make. I mostly love that it is a daily reminder to be all of these great things.
So, heres what you gotta do:
Buy some shims and sand 'em smooth. I honestly have no idea what grade of sandpaper this is. I just had it sitting around so I used it. It was gentle. You're basically just getting any slivers off.
I learned the hard way that it's best to paint the shims first. If you glue them together first, the paint won't cover the spots where the glue dries. It looks funny. Trust.
I used a rag instead of a brush because I liked the look. You could use a brush if you want thicker/smoother coverage.
Or, you can get bored with the process and think it might just be better to spray paint them instead.
This was seriously what I did half way through painting. But, then I didn't like the shimmery finish so I went back to hand painting.
I sprayed my large chipboard letters with primer so that they'd cover easier with paint.
Here's glance at how I really work. Neatness can be overrated!
I used this stamp set for my lettering. I think they were $12.99 at Hobby Lobby and then I used my 40% coupon. The projects I can use the for are endless- as very good investment.
I used some Acrylic paint I had on hand for my lettering.
It took me a little practice to get the stamping just right. I recommend using a blank shim to practice.
Because I wanted to right align all of the words, I started stamping from the right and working backwards.
Once I was finished stamping and the paint had dried, I was ready to assemble everything. Here you can see that I put two shims together for the backing that would hold it all together. This will allow it to hang flush to the wall.
Once I had my two back supports made, I took E-6000 glue to the whole thing and put large globs on every other one because they are alternating thickness. I learned after the fact (and by pure luck) that you have to be pretty careful at this stage. If you use too much glue and it'll seep through the cracks potentially sticking to the surface below and ruining your art. So, just be careful. You'll also notice that I used a painted shim; this is so that if there are any gaps when the glue dries (intentional or not) you'll still have a finished look.
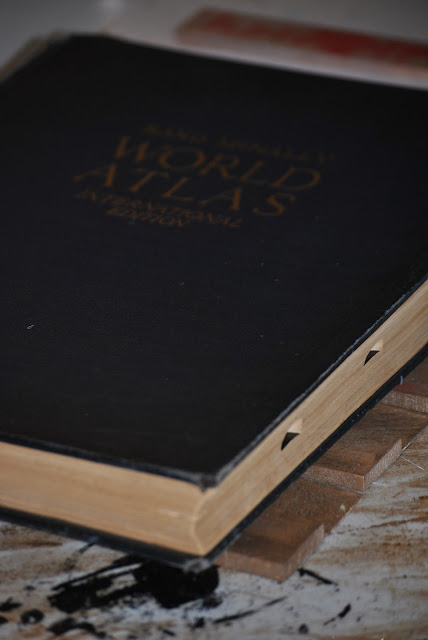
Ok, this was the hard part for me. Put a heavy book on top and walk away for the night so that everything dries completely.
The next day I simply took a piece of wire (again, I don't know the gage, just had it sitting around) and hot glued it to create a hanging bar.
I reinforced it with some felt. Honestly, it just felt like the right thing to do. I don't know if it will have any added benefits of reinforcement or not!
I haven't decided where I'm going to hang it yet. I'm making some changes in my living room and it'll most likely find a spot in there.
What do you think?
What words would you add to the list?


This is so cute and creative:) Well done!
ReplyDeleteStay Fashionable! Love,Candy
www.candysclothescloset.blogspot.com
Thank you!
ReplyDeleteEven though this is over 3 years later it is a timeless piece of art and very cool looking. Great Job!!! Kathy
ReplyDeleteVery nice blog you havve here
ReplyDeleteI'm absolutely loving the creative ideas shared in this blog post! Turning old windows into beautiful wall art is such a unique and sustainable way to decorate your space.
ReplyDeletehttps://promocodehq.com/lululemon-birthday-discount
The step-by-step instructions and accompanying photos make it seem so doable, even for someone like me who's not very crafty.
ReplyDeleteAnd here's a special treat for all the readers - if you're as inspired as I am and want to give this DIY project a try, don't forget to use frugalishness.
It reveals how nicely you perceive this subject.
ReplyDeleteBookmarked this website page, will come back for extra articles.
ReplyDeleteRattling wonderful visual appeal on this web site, I’d value it 10 over 10.
ReplyDeleteYou have remarked very interesting details ! Also visit my site:
ReplyDelete